Measuring for a Vintage Dress
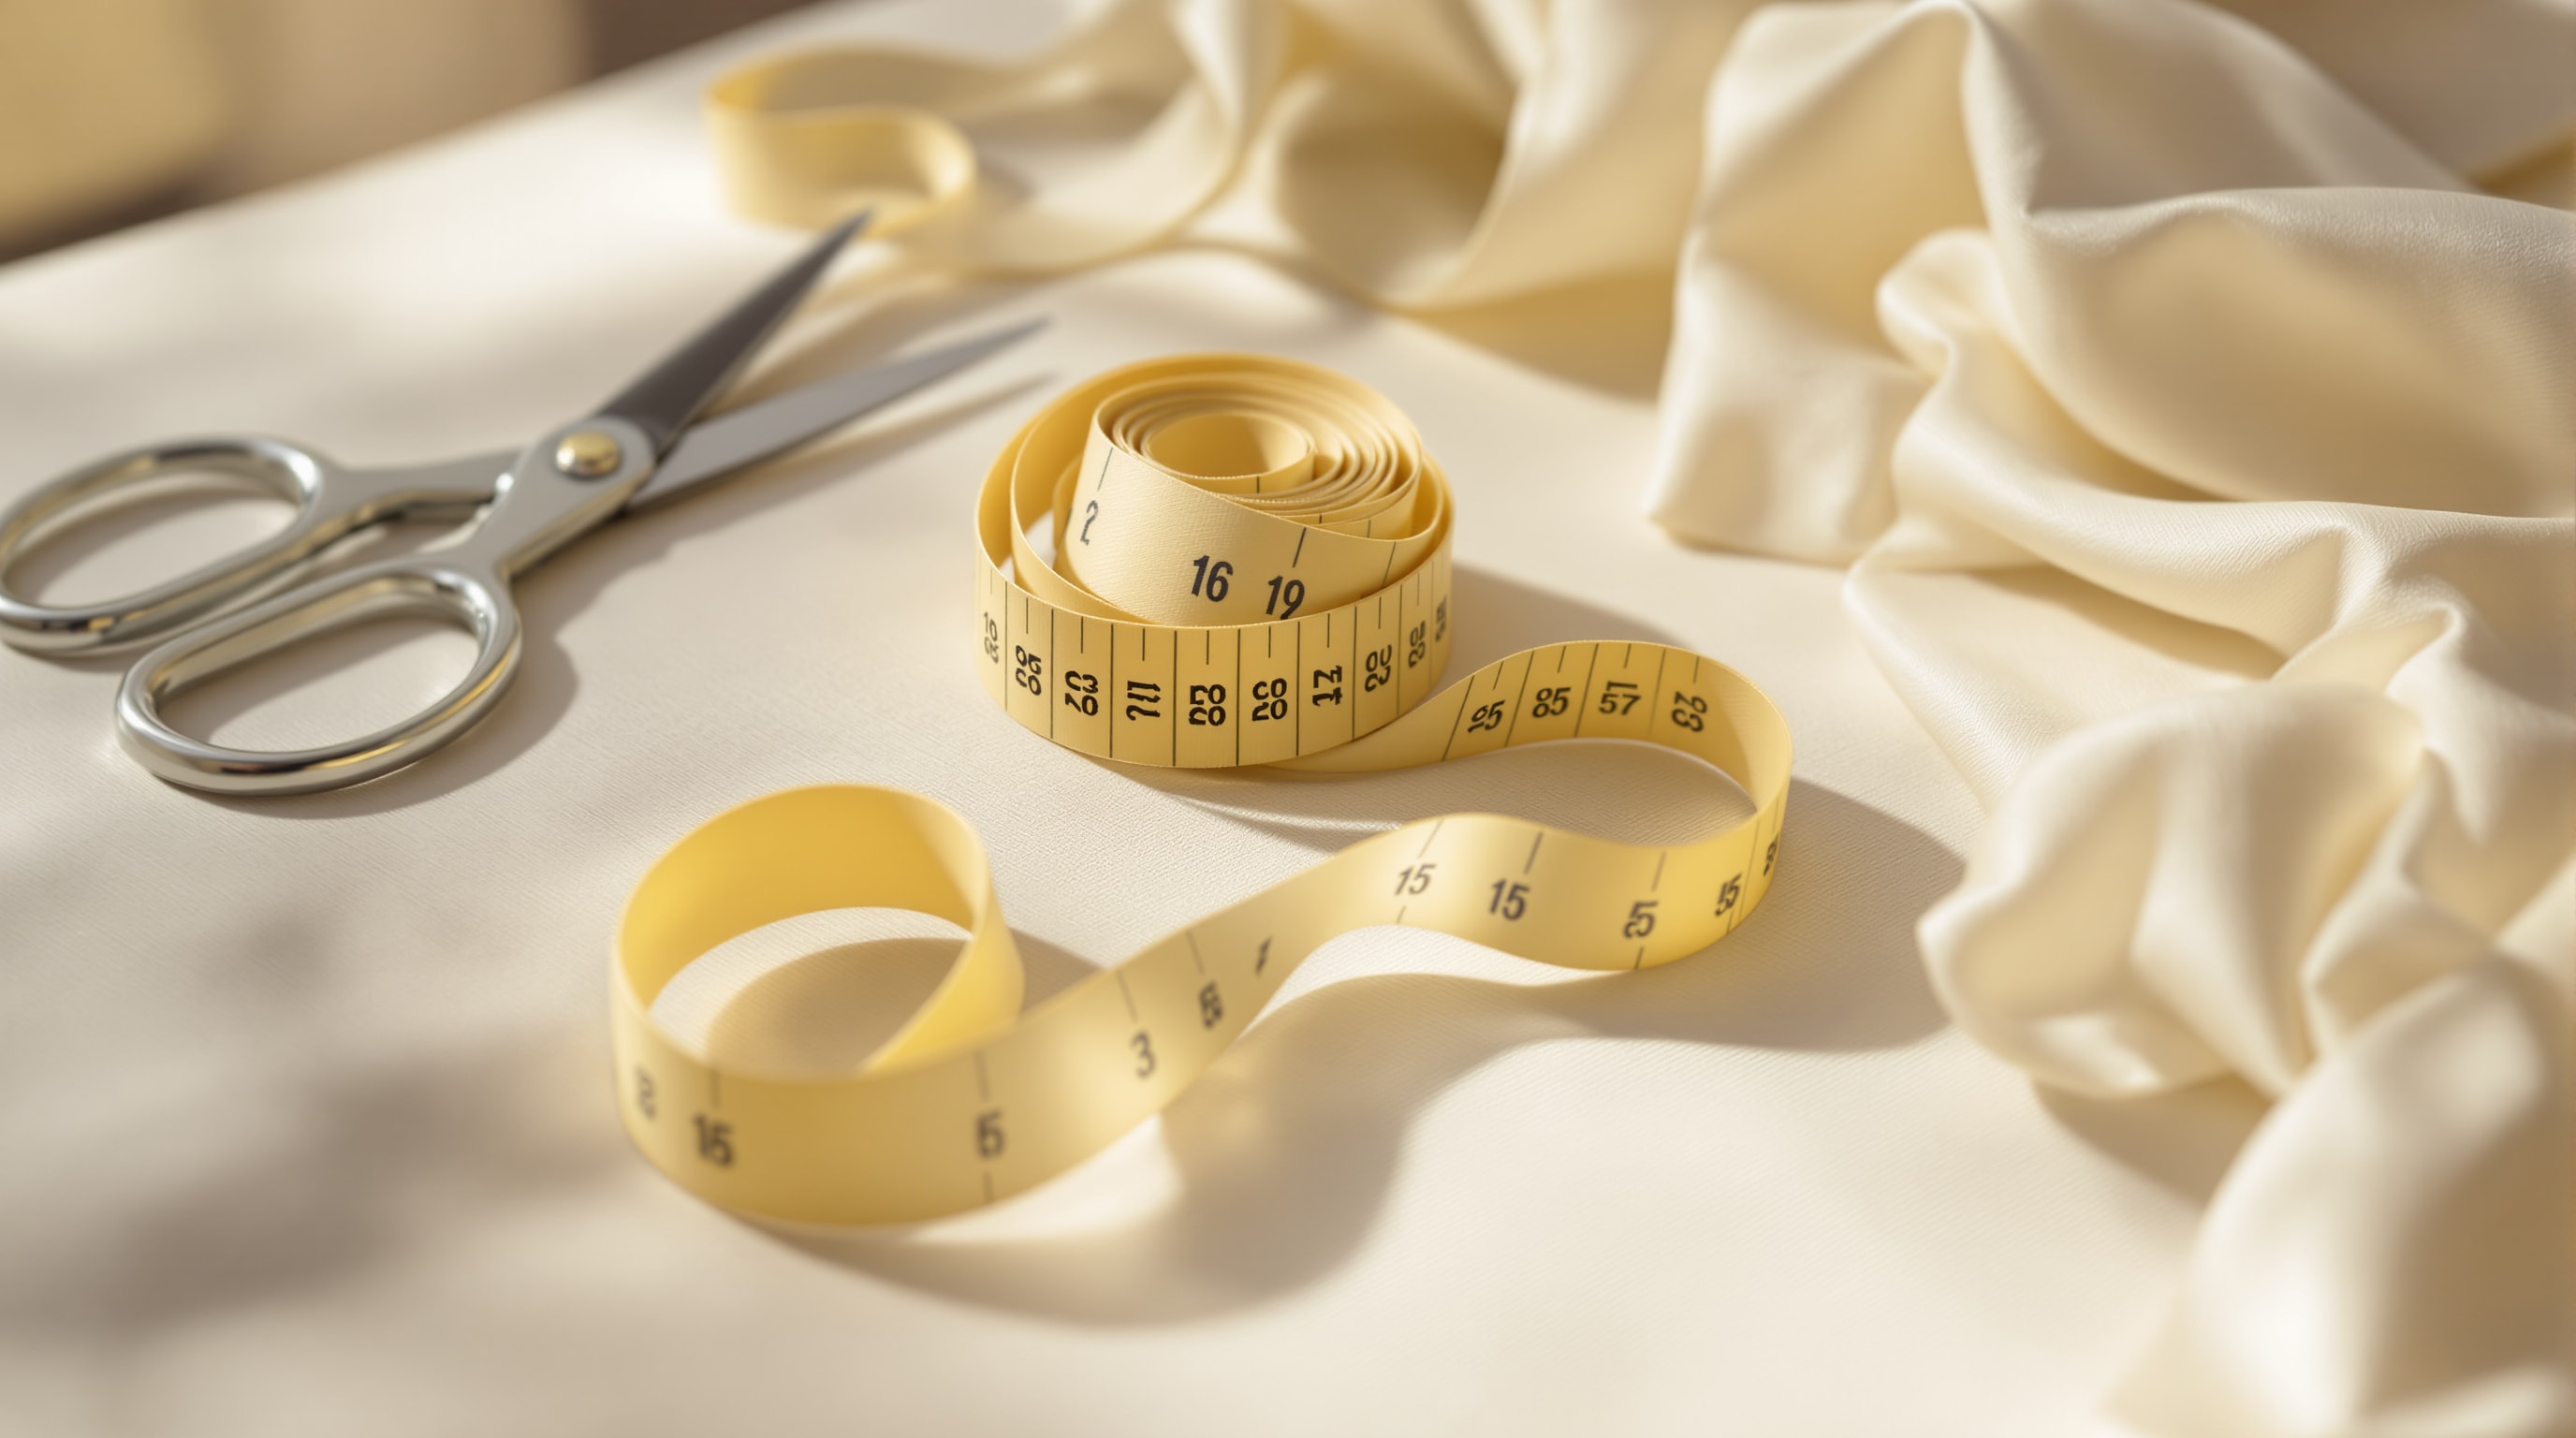
The most common disappointment in vintage clothing is entirely avoidable: falling for a dress that was never going to fit. Vintage sizing bears no useful relationship to modern sizing, and it did not stay consistent within the period either. The only thing that transfers is a measurement in inches, which is why every serious source publishes full measurements for each garment and why it is worth knowing your own before you start looking.
Use a cloth tape measure. A retractable steel rule will not follow the body and will give you a number that is confidently wrong. Measure over the underwear you would actually wear with the garment, and if you can, have someone else take the readings — self-measuring reliably produces a smaller waist and a larger everything else.
The measurements that matter
Bust
Take the tape around the fullest part of the bust and across the widest part of the back, keeping it horizontal all the way round. Do not rely on your bra size: cup and band sizing varies enough between makers that it is not a usable substitute, and the garment does not care what the label says.
Waist
Find the natural waist before measuring it. Tie a narrow string or a length of ribbon loosely around your middle and bend slowly from side to side; it will settle into the natural waistline on its own. Measure along the string line. This matters more for vintage than for modern clothing because period garments have a defined, constructed waist that must sit in the right place — a bodice whose waist seam lands above or below yours will never look right no matter how well it fits in the round.
Hip
Around the fullest part, which is usually seven to nine inches below the natural waist. Note the distance as well as the circumference: on a fitted 1950s dress the position of the widest point is as important as its measurement.
Height
Stand with your back, head and heels against a wall. Have someone lay a ruler flat on top of your head, perpendicular to the wall, and mark where it meets. Measure from the floor to the mark. Height determines how a dress drapes and where a hem falls, and it is the reason two people with identical bust, waist and hip measurements can have completely different results in the same tea-length dress.
The four that get forgotten
- Torso length, shoulder to natural waist. This decides whether a fitted bodice will sit correctly, and it cannot be adjusted much.
- Skirt length, natural waist to floor — and to whichever point you want the hem, if it is not the floor.
- Sleeve length, from the top of the shoulder to just past the wrist bone, measured with the arm slightly bent.
- Shoulder width, across the upper back from the outside of one arm to the outside of the other. This is where the shoulder seam falls, and it is the measurement people most often skip and most often regret skipping.
Ease
A garment measured flat to exactly your body measurements will not be wearable. Allow roughly an additional inch at bust, waist and hip for ordinary comfort and movement. More may be wanted in a woven, unstretchy fabric, and less in a bias-cut garment, which has a small amount of natural give along the diagonal — though that give is a property of the cut and not an invitation to size down.
Reading a garment's measurements
Garment measurements are conventionally given flat and doubled: a dress listed at an 18-inch waist means a 36-inch waist in the round. Check which convention a source is using before drawing any conclusion. Where a garment has been altered — and many have been, more than once — the current measurements are what matter, not any original label.
Before you assume it can be altered
It is tempting to treat a too-small dress as a problem for a seamstress. Frequently it is not solvable. Period garments were cut with very small seam allowances, and there is often less than half an inch per seam to let out; old seam lines leave permanent marks in silk; and the armhole and shoulder of a pre-1960s garment are cut higher and further forward than a modern one, which is the usual reason a dress that measures correctly still cannot be moved in. The assessment page covers this in detail.
Choose for the shoulders, the bust and the armhole. Those are the parts that cannot be changed.
Nothing described here is for sale, in stock, or available to order.